SimpliSafe Smart Lock Installation Guide
Welcome to the SimpliSafe smart lock install and setup guide. SimpliSafe Smart locks work hand-in-hand with their home security system. Unlike home security systems that come with a peel-and-stick installation, the smart lock takes some extra effort. However, you don’t have to worry as it is not difficult to proceed with the SimpliSafe Smart Lock installation and you can do it without any hassle.
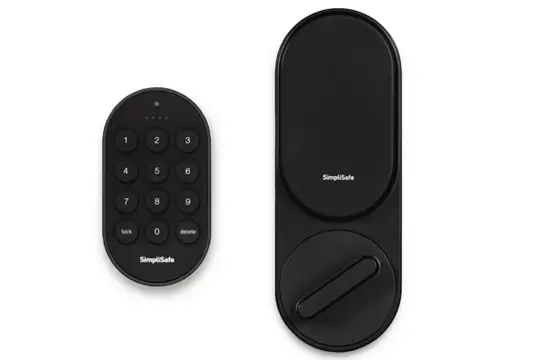
The Simplisafe smart lock install and setup requires you to go through the step-by-step instructions. Firstly, you need to physically install the smart lock using a mounting place and then proceed with the configuration. Finally, you just have to install the PIN pad and then activate the smart lock.
As per our experts, the Simplisafe smart lock takes about 10 minutes to install and it is not at all a difficult task. If you experience trouble while attempting to install or configure the device, please do not hesitate to reach out to our support team for more help.
Let’s start with our SimpliSafe installation guide.
Step-by-step SimpliSafe smart lock installation
- Prepare existing deadbolt
- Taking off existing thumbturn
- Taking off the mounting place from the lock
- Installing the mounting place
- Choose adapter
- Prepare thumbturn
- SimpliSafe smart lock install
- Secure the lock
- Testing the smart lock
- Installing the PIN pad
- SimpliSafe smart lock activation
SimpliSafe smart lock installation and setup
In this section, we will show you how to move through the SimpliSafe smart lock install and setup guide without any hassle. Please make sure you follow the steps below very carefully:
1. Prepare existing deadbolt
Firstly, secure the deadbolt in a place with the help of tape on the outside of your main door. Make sure you do not take off the outdoor part of the deadbolt.
2. Taking off existing thumbturn
Secondly, you need to unscrew the deadbolt’s thumbturn on the inside of the main door. Moreover, you need to hold the screws for 4th step.
3. Taking off the mounting place from the lock
Make sure you remove the mounting plate that comes pre-installed on the SimpliSafe smart lock before proceeding. To take off the mounting plate, slide out the wing latches that are located on the backside of the smart lock. After that, remove the mounting plate.
4. Installing the mounting place
Make sure you check which face of the mounting plate should be facing the door. After that, bring the mounting plate to the center of the thumbturn connector. You can use your existing deadbolt screws to install it on the main door. Lastly, make sure it is secure.
For proper Smplisafe smart lock installation, make sure that you do not overtighten the screws as they could bend the mounting plate. If you notice that the screws are too thin to hold the plate, you can use the washers that came supplied with the box.
5. Choose adapter
In this step, you need to choose an adapter that corresponds to the shape of the existing tailpiece to your main door. Slide the adapter over the tailpipe through the mounting plate. If the tailpiece of your door is diagonal, make sure you use the green adapter. Horizontal or vertical tailpieces will require one of the other three adapters. Make sure the notch at the top of the adapter is aimed up and away from your doorway.
6. Prepare thumbturn
It is important to have the door unlocked and the thumbturn in the unlocked position. Cross-check whether the locks’ wing laches are out.
7. Simplisafe Smart lock installation
This is one of the main steps of the smart lock installation. Slide the SimpliSafe smart lock over the adapter and slowly turn the thumturn until the devices come into a proper alignment with the adapter. It should slide completely against the mounting plate.
8. Secure the lock
Now comes the step of securing the lock by sliding the wing latches inward and onto the mounting plate. If you can’t slide the wing latches or see a gap, it means that your mounting plate is bent. You can try loosening the screws on the mounting plate and re-attaching the smart lock.
9. Testing the smart lock
To test the smart lock, try manually locking and unlocking the main door. In case you experience difficulty, try using the included tool to slide the wing latches outward and remove the smart lock. You should be able to unlock the lock and deadbolt using the adapter. After that, reposition the smart lock.
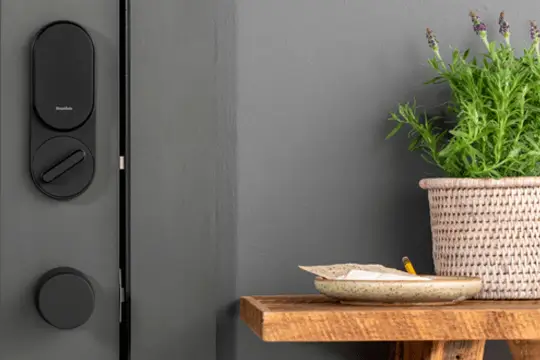
10. Installing the PIN pad
To mount the PIN pad to the outside of your main door, you can use double-sided tape or adhesive. Please ensure that you leave a 3-inch space below the PIN pad in order to access the batteries without any hassle. If you want to permanently attach the PIN pad, you can use screws.
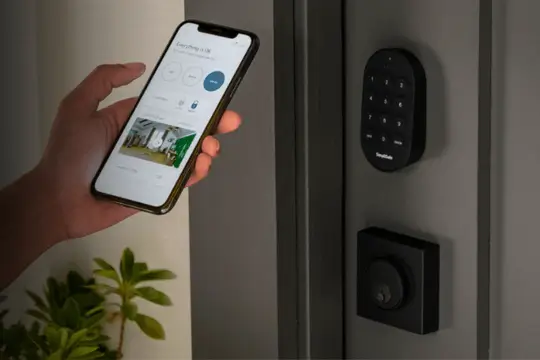
11. SimpliSafe smart lock activation
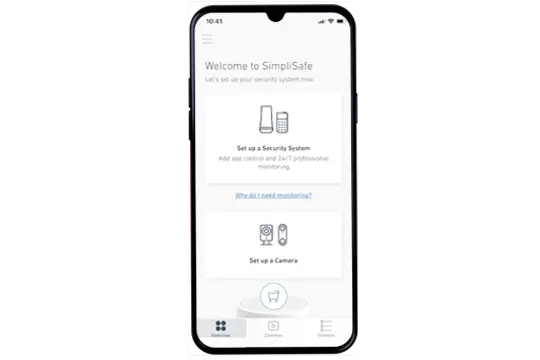
Now comes the last step to activate the Smart lock. Bring your Keypad over to the main door in order to make things a little easier. Navigate to Menu and then select Devices. After that, select Add Device and then Lock. Follow the instructions to activate the SimpliSafe smart lock.
Final thoughts
This page was all about the SimpliSafe smart lock installation and configuration. Make sure you follow each step very carefully or else you might get caught in the middle of the SimpliSafe smart lock install and setup process.
We hope that this post helped you install and activate your SimpliSafe smart lock without any hassle. If you face any issues at any step of the installation, please do not hesitate to talk to our support team for further assistance.